Notes taken during a practical demonstration by Sandy at the Garden Club meeting at his home in Santa Cruz in 2006
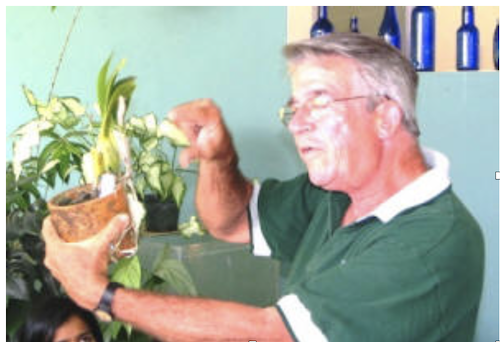
A cattleya needs repotting when one or more pseudobulbs have grown over the edge of the pot, or when the lead bulb is smaller than the one behind it.
A division should have at least 4”growths” or pseudobulbs- the lead and 3 back bulbs for best results, in the case of extensive rhizome rot one or two back bulbs may be sufficient.
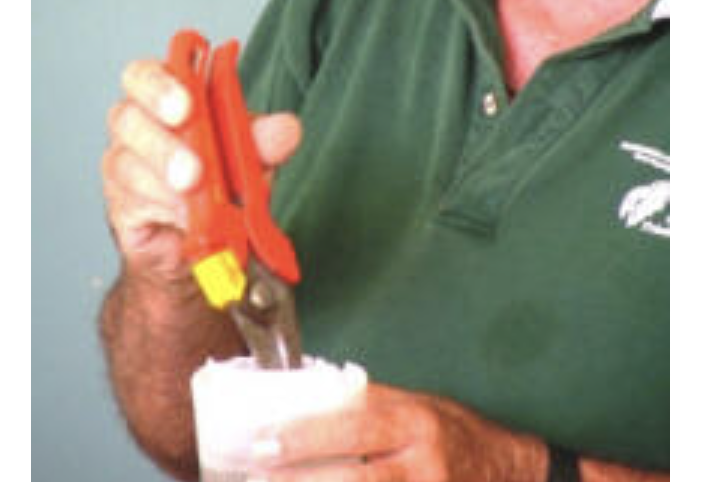
Soak your secateurs in Tri-sodium Phosphate between cutting plants to prevent the spread of viral diseases. Note Cinnamon powder is also a good bactericide/fungicide to seal cut surfaces.
Cut the Orchid cleanly behind the third back bulb when the plant has just started to send out the first root on the mature lead bulb, or when the new bulb is half an inch in height and the first new root is visible.
Make sure the cut surface is clean and there is no sign of rot. If there is a sign of rot, evidenced by a dark ring, cut the rot off until you have a clean healthy looking surface-apply cinnamon powder.
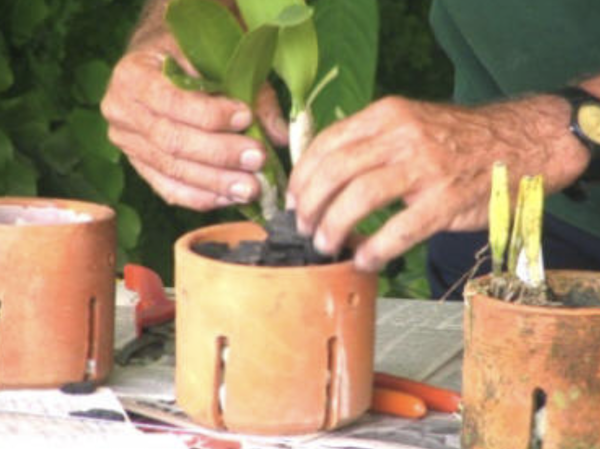
Fill a new 6” clay pot with a mixture of styrotex peanuts at the bottom for drainage, then top up with broken clay pots and charcoal. Each piece should be no more than ½” in size. Do not use old broken pots as infections can last for three years or more in the walls of the pot even without water. If you are unsure how clean the pots are, soak them for a couple of days in a 10% Clorox bleach mixture.
When filling around the newly cut orchid rhizome, keep it level with the top of the pot and point the lead pseudobulb towards the furthest side so it has room to grow.
Use a ^ shaped piece of bird cage wire to support the new plant so it doesn’t fall out of the pot when being watered.
Lastly and most importantly, label the orchid. If you ever wish to sell your orchid collection, buyers must know what they are buying otherwise the plants will have little value.